
First launch checklist
- · You’ll see normal OS safety dialogs—Accessibility on macOS, SmartScreen reminders on Windows, optional mic/camera if you turn on voice or meetings later.
- · Signing into OpenHuman only proves who you are; Gmail/Slack still need their own permission pop-ups afterwards.
- · Ignore “Advanced RPC” panels unless someone on your team gave you a self-hosted backend URL.
Success looks like
The desktop window stays open without crash loops, you finished product sign-in, and you're mentally ready to add connectors knowing each app will ask for its own OAuth screen next.
1 · Open the downloaded app calmly
Builds change often during Beta. If Windows SmartScreen or macOS Gatekeeper complains, pause and confirm you grabbed the installer from TinyHumans’ official flow: GitHub README ↗.
2 · What each permission banner does
- macOS: Accessibility + Input Monitoring support automation cues and voice hotkeys; skip camera/microphone until you genuinely use meeting or mic features—denying them is okay at first.
- Windows: SmartScreen is the usual install hurdle; microphones/camera appear later only if you flip those features on.
- Revisit allowances anytime under Settings → Automation & Channels inside the product.
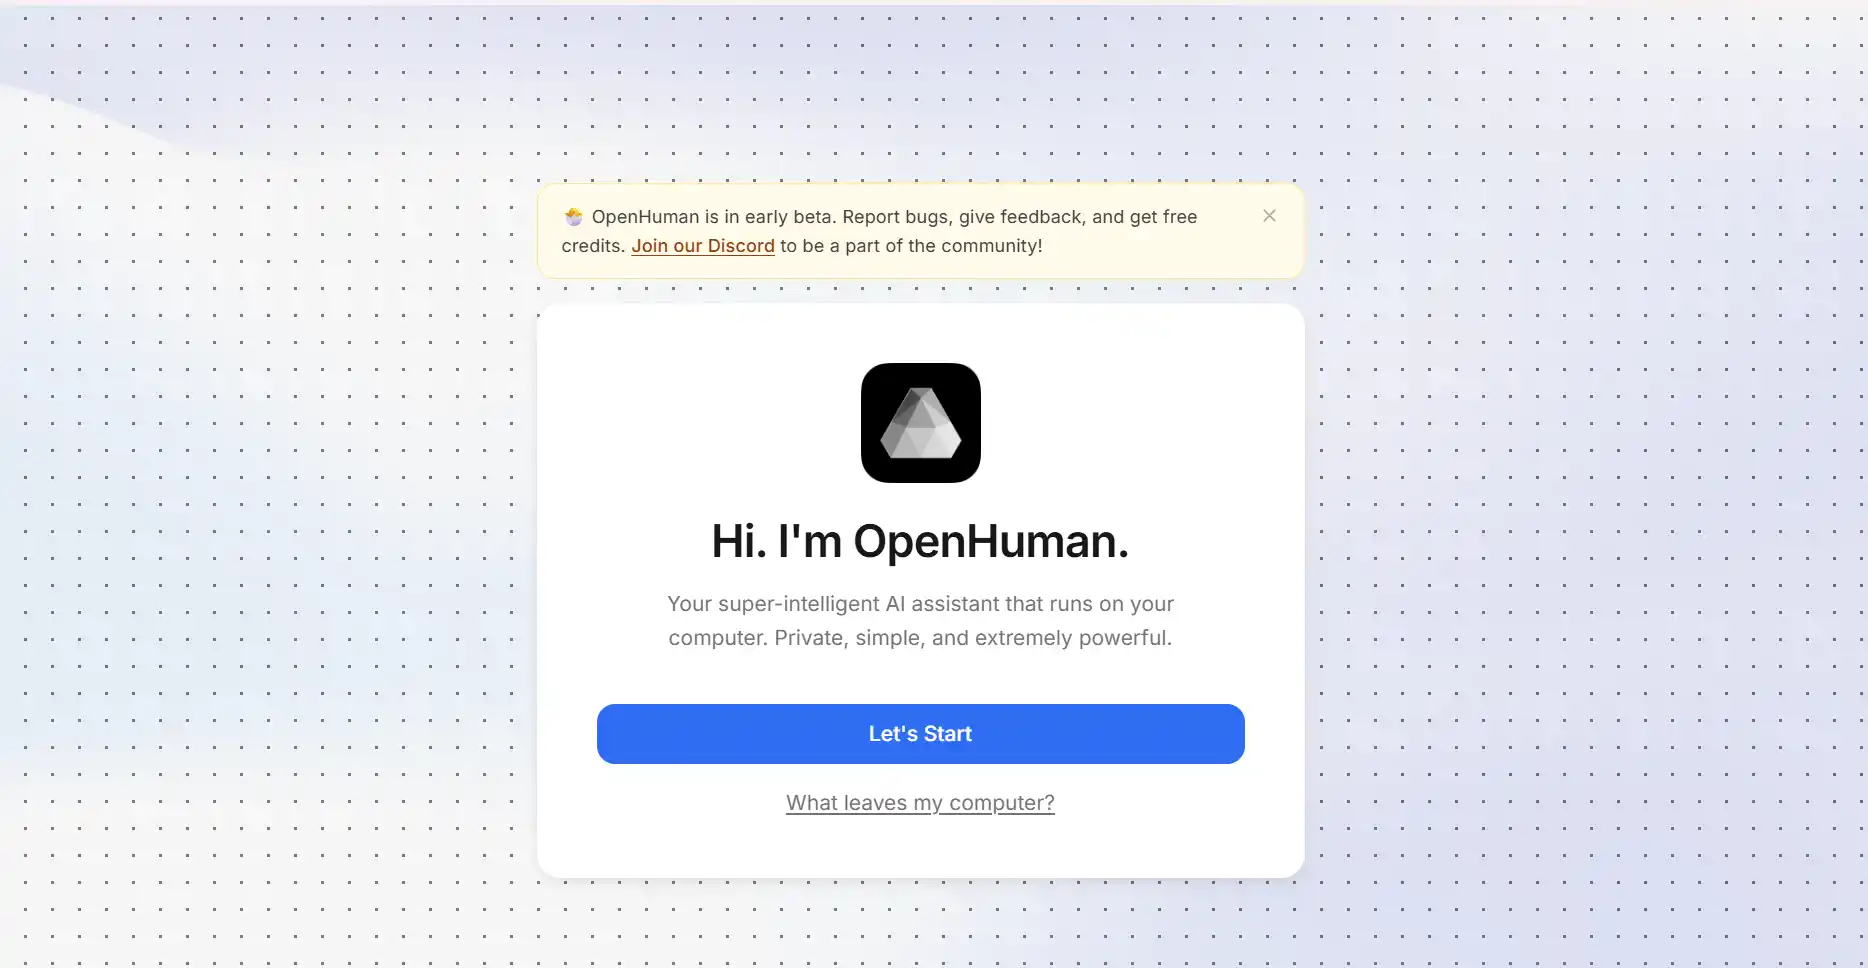
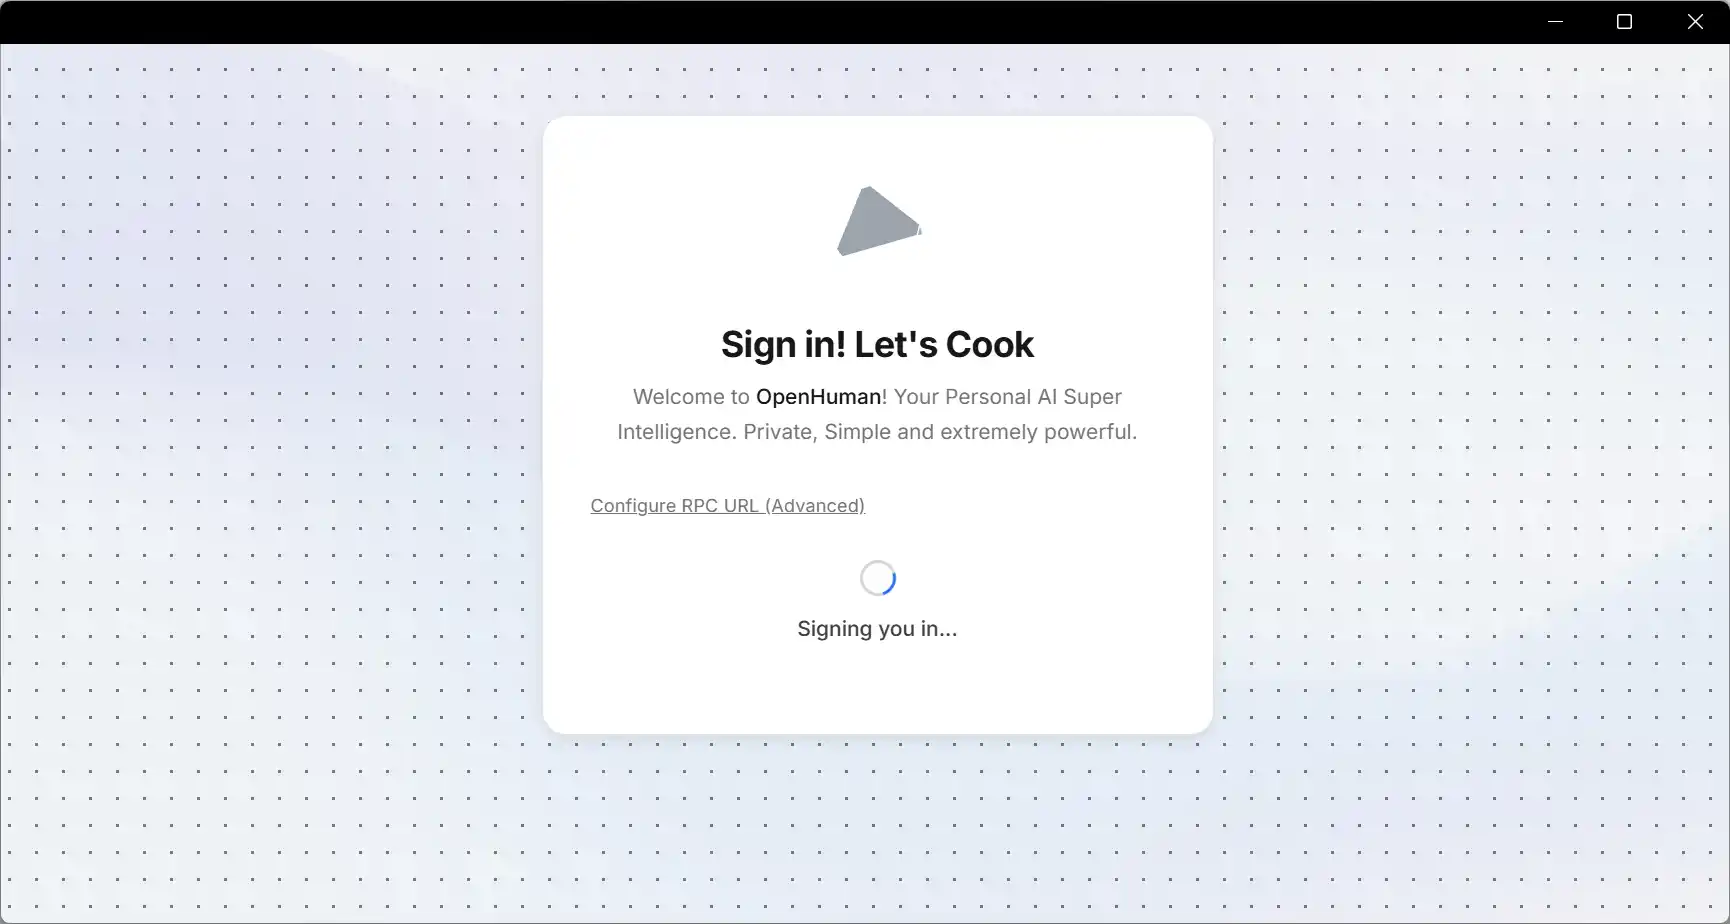
3 · Typical first screens
Product copy changes between builds; screenshots are from a recent Beta. Signing in below is not Gmail OAuth. Mail and other connectors get their own browser consent after you reach this step.
4 · “Sign in” still isn’t Gmail
Signing in attaches you to the product account—connectors remain opt-in hops with their own prompts. Carry that into Integrations & sync when you deliberately add mail or Slack.
Technical: Advanced core RPC URL
Operators who self-host infrastructure can paste a custom RPC endpoint in Advanced settings. Untouched installs should leave this blank—bad URLs behave like infinite reconnect loops and look like corrupted onboarding.
5 · Next: connect apps & wait one sync lap
Jump to permission + cadence guidance in Integrations & sync — expect roughly 20 minutes after linking mail before summaries feel grounded.